
Gym-to-Crag Checklist: What to Bring, What to Leave
Making the gym to crag transition is one of the most exciting (and sometimes overwhelming) steps in a climber’s journey. Indoor climbing introduces the movement, strength, and flow of the sport—but heading outside adds new layers: gear systems, environmental awareness, and decision-making in less controlled settings.
If you’re planning your first time climbing outside, this checklist is designed to help you pack smart, leave unnecessary items behind, and understand the key differences between indoor and outdoor sport climbing.
Why Climbing Outside Requires a Different Approach
The jump from gym climbing to real rock is about more than just changing scenery. In the gym, routes are predictable, the flooring is padded, and gear is provided. Outdoors, climbers take full responsibility for their safety systems, route reading, and environmental impact.
That’s why preparation matters (more on that here). Having the right equipment—and knowing how to use it—builds the foundation for safe, successful outdoor climbing.
Gym-to-Crag Climbing Gear Checklist
Here’s a breakdown of the climbing essentials for beginners heading outdoors for sport climbing.
Core Climbing Gear
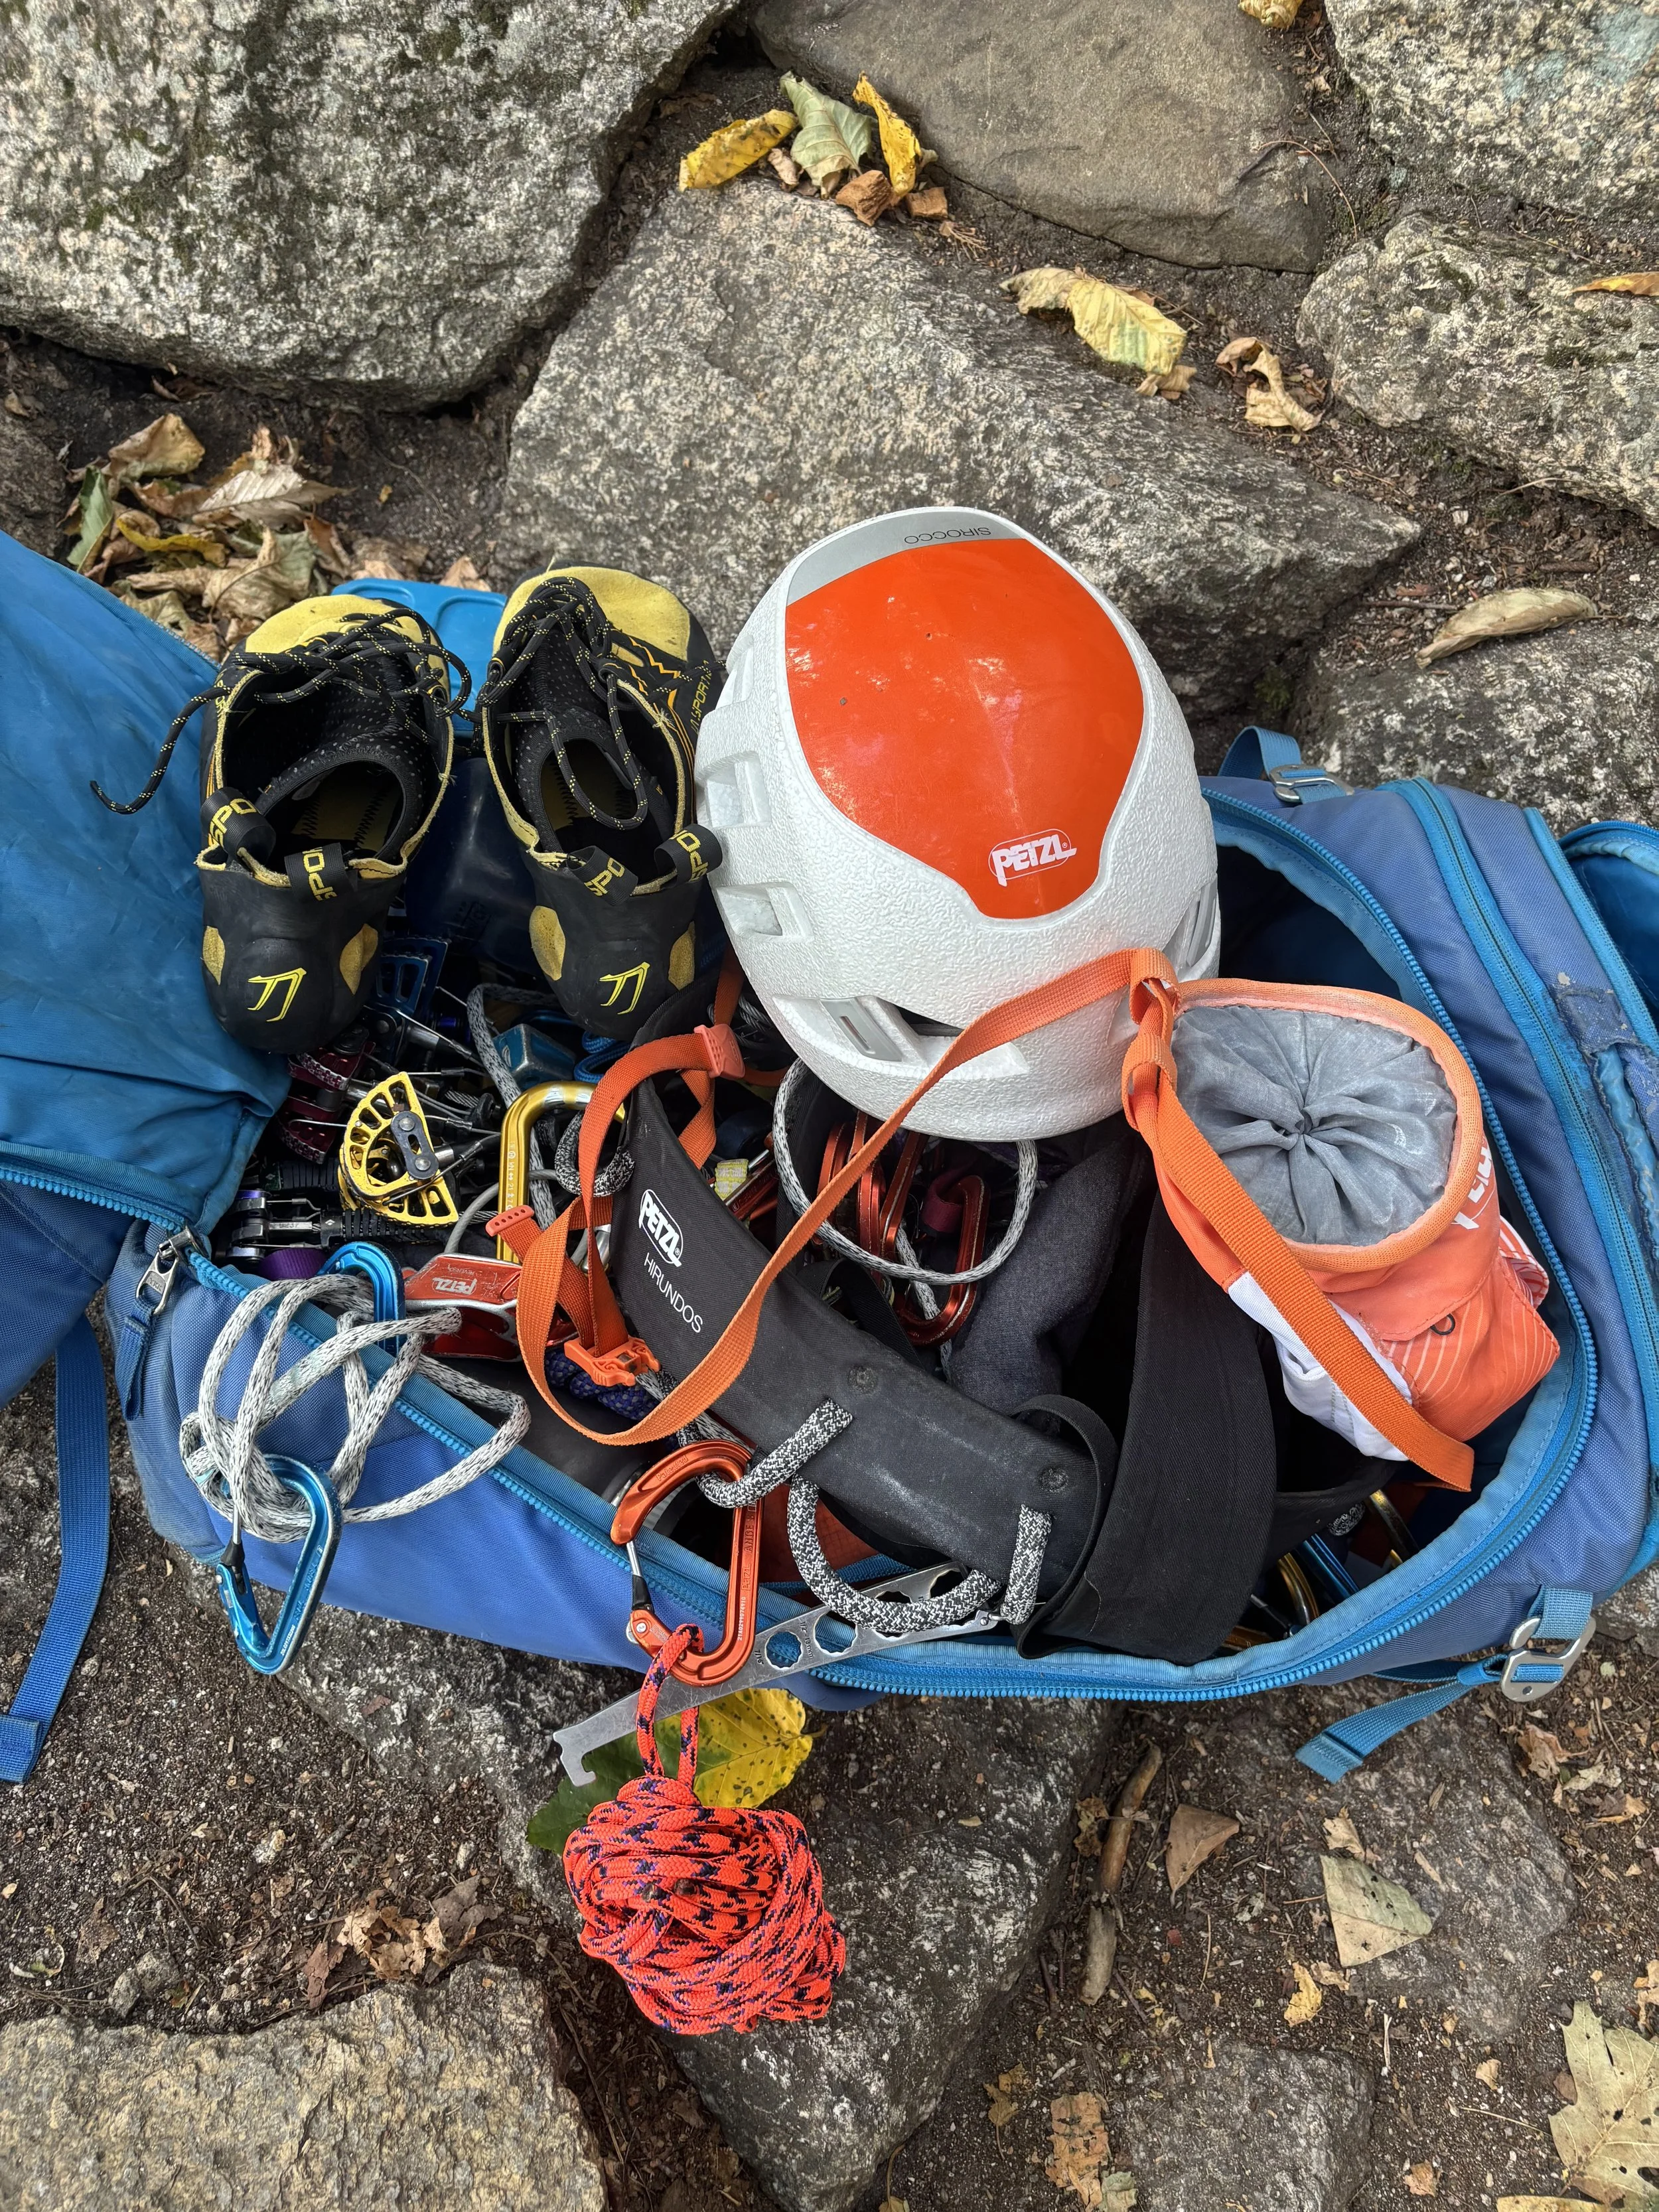
Gear for a day of climbing outside
Harness – A standard gym harness works, but ensure it’s comfortable for hanging or belaying longer than you're used to.
Helmet – Critical for protecting against rockfall, dropped gear, or unexpected slips. Not typically used indoors, but essential outside.
Climbing shoes – Prioritize comfort over aggression for all-day wear.
Chalk + chalk bag – Use responsibly and pack it out. Loose chalk is fine for outdoor use.
Belay device – A tube-style device or assisted-braking device like a GriGri. Know how it operates in outdoor scenarios.
Locking carabiners – At least two to three for anchor building, personal systems, or backups.
Personal anchor system (PAS) – Useful for cleaning anchors and personal security at the top of a climb.
Rope – Most sport climbs require a 60m rope; bring a 70m for longer routes.
Quickdraws – A full set (usually 10–14) for leading. Some routes may need more.
Crag Day Essentials
Climbing pack – Durable and sized for gear, food, and layers.
Approach shoes – Traction matters, even on short hikes.
Guidebook or climbing app – Mountain Project, Rakkup, or a local print guide.
Food + water – More than you’d bring to the gym. Plan for a full day.
Layers – Include a wind shell, insulating layer, and sun protection.
First aid kit – Keep it compact but thorough.
Headlamp – Routes and descents can take longer than expected.
What to Leave at Home

Leave the speakers at home
Not everything you use in the gym makes sense outdoors—and some things can even cause harm or disruption.
Speakers or loud music – Outdoor climbing areas are shared spaces; many are in wilderness or residential zones.
Gym-specific belay setups – Some indoor devices aren’t suitable for outdoor anchors or rappels.
Unfamiliar gear – Only bring gear you’ve practiced with and understand.
Street shoes – For safety and access, approach shoes are better.
Trash or micro-waste – Snack wrappers, tape, and chalk balls should all be packed out.
Extra Considerations for First-Time Outdoor Climbers
Outdoor climbing includes more variables than the gym. These tips help smooth the transition:
Anchor Systems
Learn to identify safe, redundant sport anchors and understand how to clean them without relying on top-rope setups.
Rope Management
Expect rope drag, sharp edges, and longer belays. Know how to flake your rope, avoid tangles, and communicate clearly with your belayer.
Communication
Outdoor settings make it harder to hear. Practice commands like “take,” “climbing,” and “off belay” loudly and clearly—or establish rope signals when needed.
Follow local crag ethics, avoid damaging vegetation, and minimize chalk marks. Brush holds when possible and stick to established trails.
Building Confidence Beyond Gear
While having the right gear is important, outdoor climbing is ultimately about decision-making, awareness, and experience. Whether you're practicing at a local sport crag or preparing for more advanced objectives, prioritize:
Continuous learning – Watch how more experienced climbers manage systems.
Asking questions – Most climbers are happy to share knowledge.
Staying humble – Outdoor climbing has fewer safety nets. Move at your pace.
The Gym-to-Crag Transition Is a Process
Outdoor climbing isn’t a checklist you complete in one day—it’s a progression. The more time you spend outside, the more systems, subtleties, and strengths you’ll develop.
Remember: Climbing is about growth, not just reaching the top. Every day outside adds experience, judgment, and awareness to your climbing skillset.
Next Steps for New Outdoor Climbers
Looking for more guidance on the gym-to-crag transition or building your own climbing gear checklist? Explore resources like:
Online forums (e.g., Mountain Project)
Local climbing organizations and stewardship groups
Books like “Rock Climbing: Mastering Basic Skills”
Peer meetups or mentorship programs
When you're ready, consider formal instruction to round out your systems knowledge and climb with even more clarity.
Still unsure about your setup? Book a session with one of our professional instructors and get hands-on guidance.