
How to Layer for Winter Mountain Sports: Ice, Ski, and Summit
Introduction: Build Your Four-Layer System
If you play in the mountains all winter — ice climbing, ski touring, alpine summits — you know that comfort and performance hinge on how you layer. Too hot and you sweat through everything. Too cold and your motivation tanks.
Over years of guiding and personal trial, we’ve found a simple, scalable four-layer system that works across conditions. You can adjust it for any mission, but the foundation stays the same:
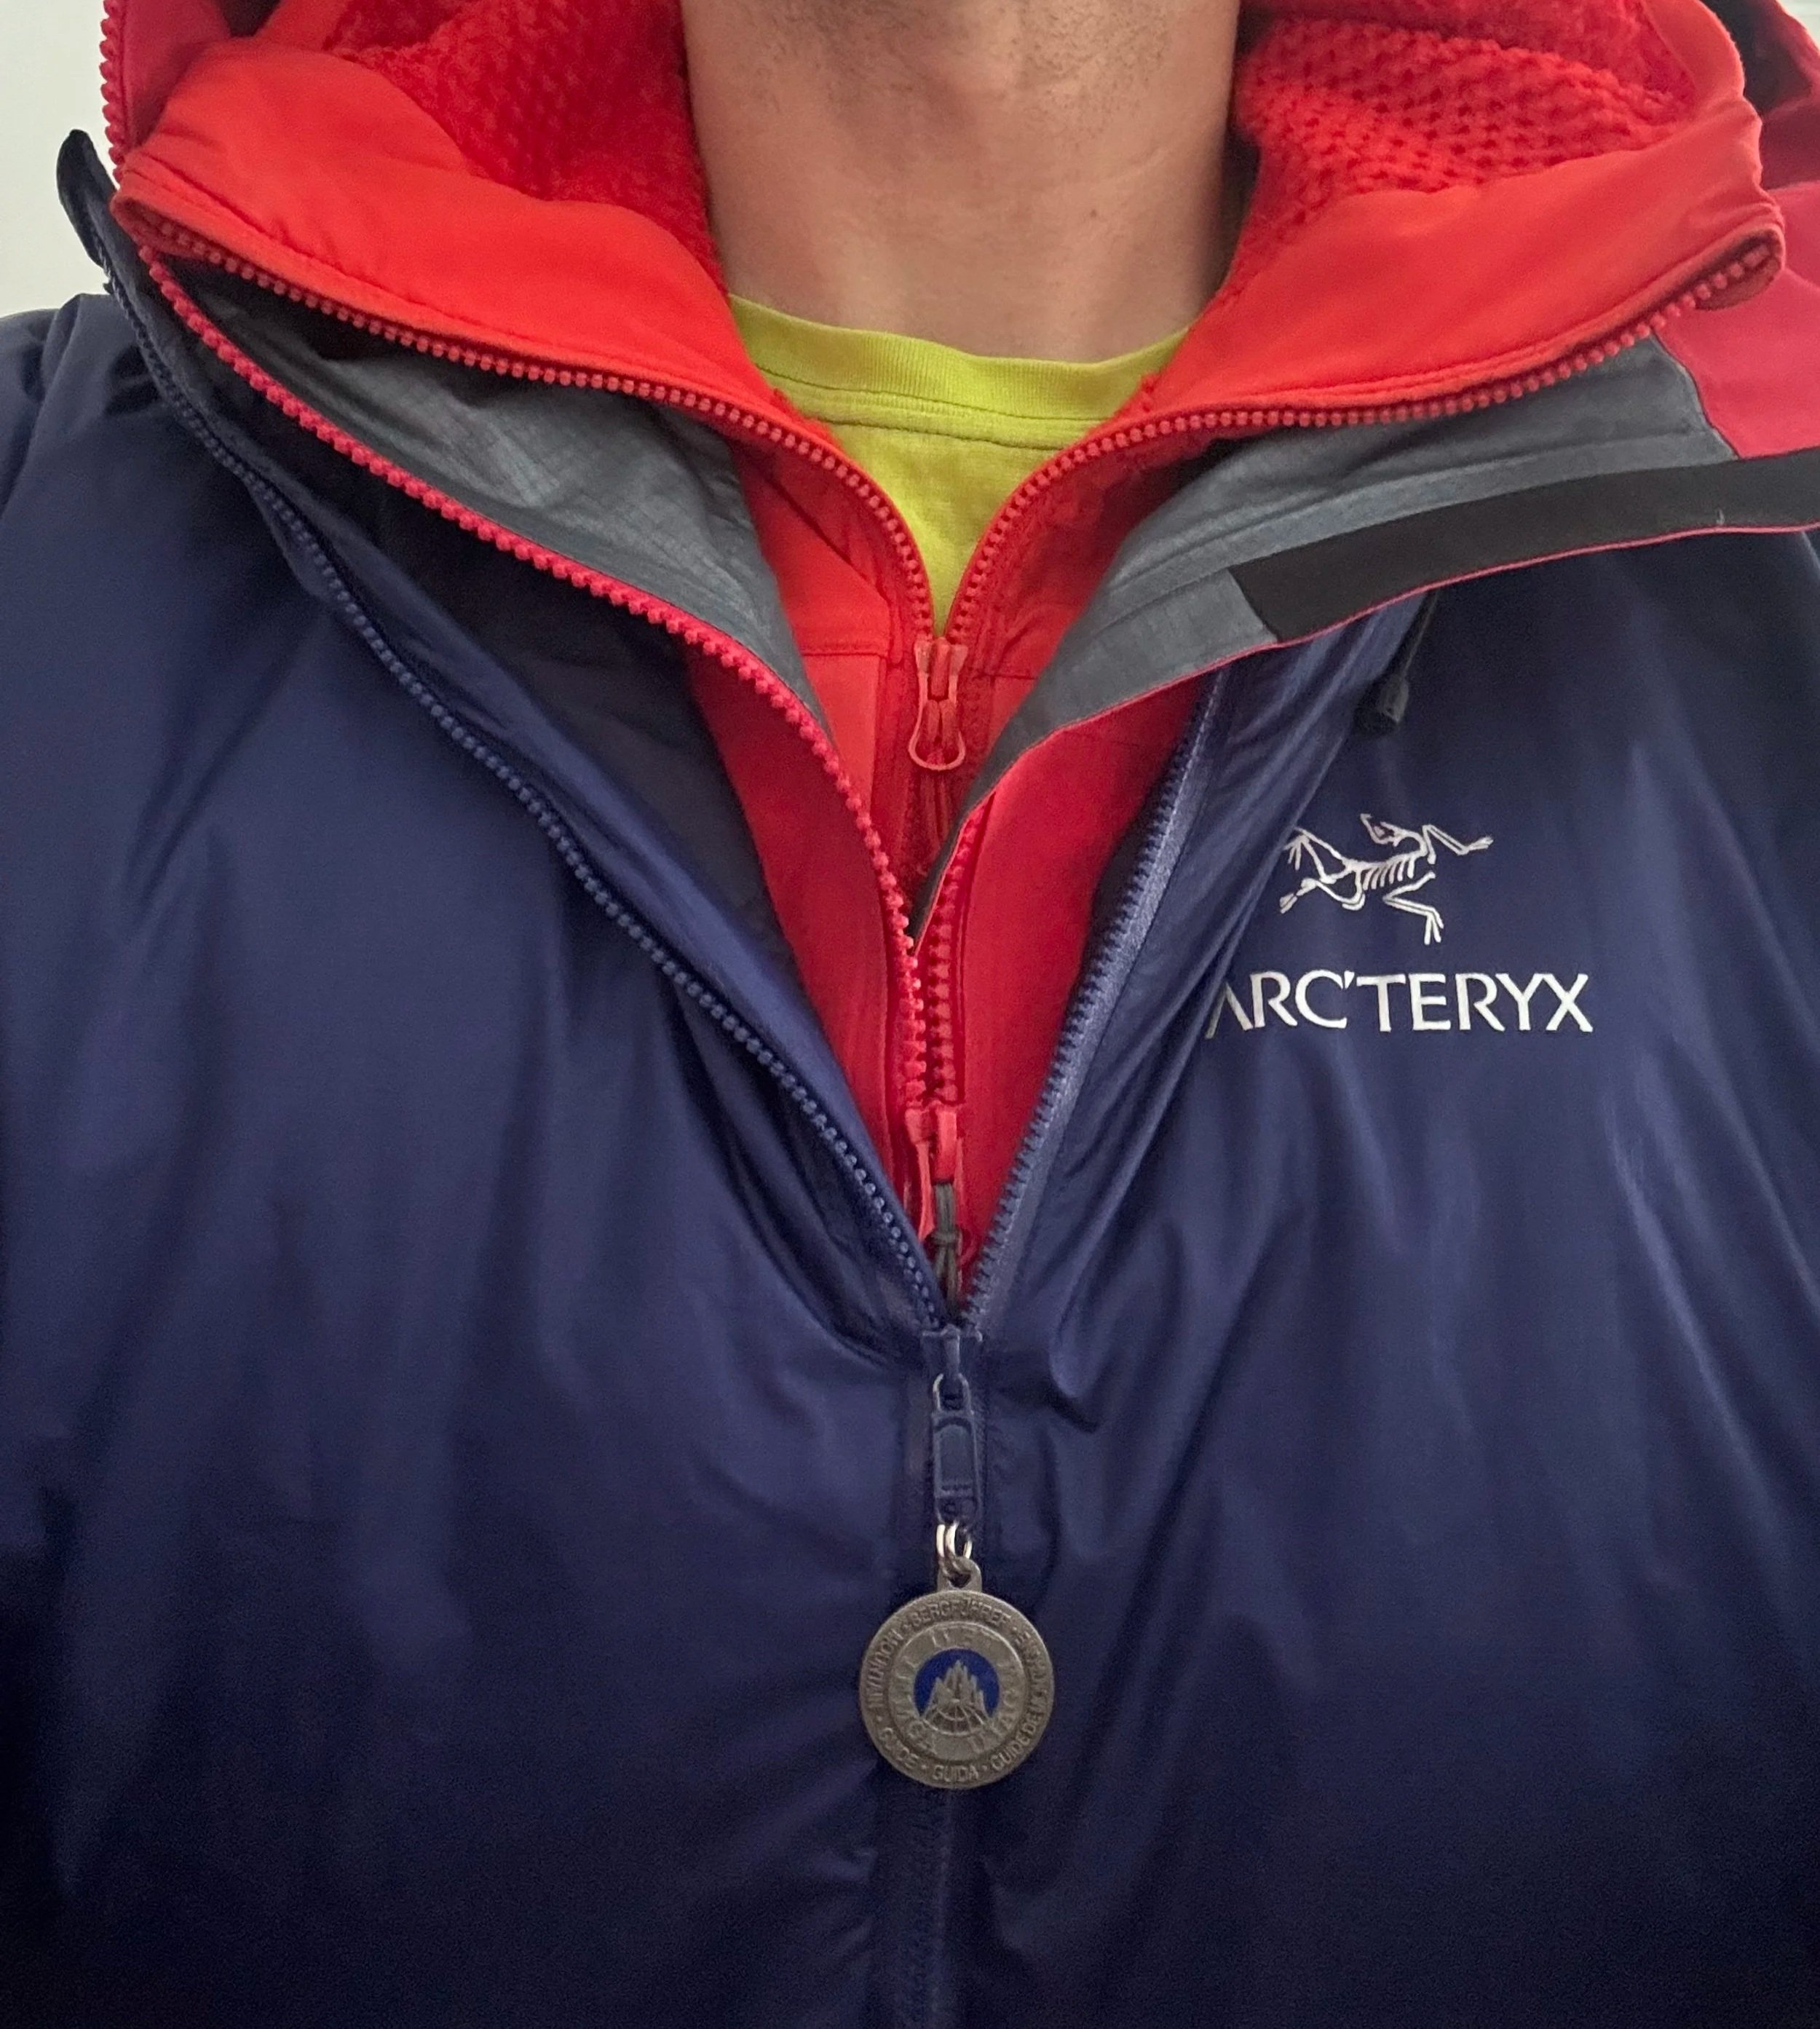
4 Layer system- you can wear it all at the same time.
1. Base Layer – Manage Moisture
2. Mid Layer – Active Warmth
3. Shell Layer – Weather Protection
4. Belay Parka – On-Demand Heat
The caliber of each layer can be scaled up or down to match the day, but the basic concept remains the same.
1. Base Layer: Manage Moisture and Sweat
The base layer sits next to your skin and does one critical job — move moisture fast. For high-output winter sports, that’s what keeps you warm over time.
What to look for:
Merino wool blends: Excellent temperature regulation and odor control.
Synthetics: Lighter, faster drying, and durable for long days.
Pro tip: Know your body. If you run hot, go for light base layers with a zippered chest. Run cold? Choose heavier options with a tall neck.
2. Mid Layer: Active Warmth You Can Move In
The midlayer traps heat but still needs to breathe — think active insulation, not heavy fleece.
Top picks:
Grid fleece (Polartec Power Grid, R1 Air) for breathability.
Active synthetics (Atom LT, Nano-Air) for wet, high-output conditions.
For ice or alpine: Prioritize warmth without bulk.
For ski touring: Go lighter and vented — full zips or breathable panels are gold.
3. Shell Layer: Your Weather Armor
Your shell keeps wind, snow, and spindrift out — but it also needs to release heat on the move.
Options:
Softshell: Ideal for cold, dry days and ice climbing — stretches, breathes, and sheds light snow.
Hardshell: For storms or wet snow — total protection for big alpine days or long belays.
Ski touring tip: Look for lightweight, breathable options like Gore-Tex Active — durable without the swampy heat.
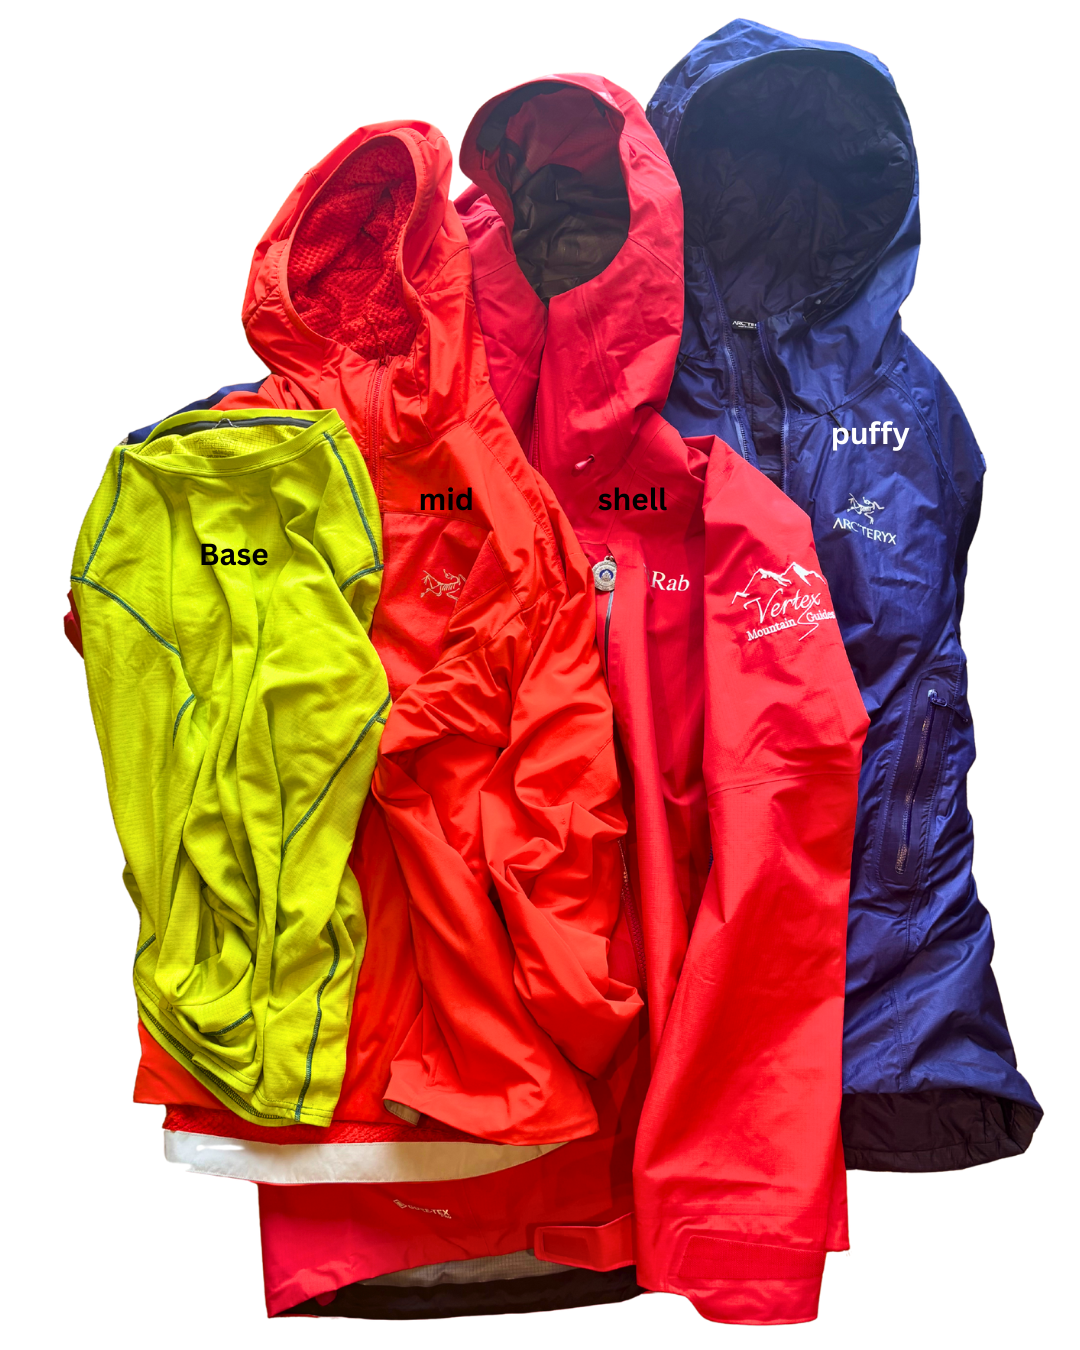
4 layer system
4. Belay Parka: On-Demand Heat
This is a critical layer — the one that turns cold stops into comfort. The belay parka sits outside your shell and traps your body heat instantly.
Why it matters:
Even the best layering system can’t keep up when you stop moving. Pulling on a big belay parka seals in warmth, dries inner layers, and saves your energy for the next pitch.
Look for:
Synthetic insulation: Ideal for wet environments (hello, New Hampshire!).
Down insulation: Best for lighter weight or drier weather.
Roomy fit: To go over all your layers.
Big pockets + adjustable hood: For gloves and helmets.
Pro move: Pack your belay parka last so it’s the first thing you can grab when you stop. If you wait until you’re cold, it’s too late.
Putting It All Together: Scale to the Mission
Your four-layer system adapts to everything. Here’s how:
Warm ski tours: Drop the belay parka, add a vest.
Cold alpine starts: Keep all four layers ready from the car.
Ice climbing: Swap between mid and parka as activity shifts.
The key is flexibility — scale layers up or down without compromising the system. Once you dial it in, this approach works anywhere from early-season ice to spring summit pushes.
Final Takeaway
A consistent four-layer winter system simplifies everything.
One setup, scaled for any objective. It’s reliable, efficient, and proven to keep you comfortable — from steep ice to wind-blasted ridges.
Take time to test and refine your own setup. When your layering system works, the cold stops being a distraction — and starts being just another part of the adventure.